

I grew up in a big, scattered family, and I learned early that staying in touch can get expensive fast. When money is tight, a phone bill is one of those “non-optional” expenses that still somehow eats the grocery budget. The good news is the federal Lifeline program exists specifically to make phone service more affordable. It can significantly reduce your monthly cost, and in some areas some providers do offer $0 plans after the discount is applied.
This guide walks you through who qualifies, what counts as proof, how the application works, how long it can take, and the common mistakes that slow people down.
What Lifeline is and what it covers
Lifeline is a federal benefit that lowers the cost of phone or internet service for eligible households. It is not a specific phone company, and it is not a single plan you sign up for everywhere. Think of it as a discount you use through participating providers in your state.
What you can get
- A monthly service discount applied to a qualifying service plan. Whether that makes your bill “free” depends on the provider and what they offer where you live.
- Voice service or broadband internet support. What is actually available to you depends on local providers and what they choose to offer (some areas have more voice-focused options, others have more data-focused options).
- Higher support on Tribal lands. If you live on qualifying Tribal lands, the Lifeline support amount is higher, which can make it easier to find very low-cost plans.
- Texting included if you choose a mobile plan that includes SMS. Many Lifeline mobile options bundle talk, text, and data.
Important limits to know
- One Lifeline benefit per household, not per person.
- You generally cannot stack Lifeline twice even if two people in the same household qualify.
- You must recertify (confirm you still qualify) when prompted, or you can lose the benefit.
If you are also trying to cut costs in other parts of your phone setup, my money-saving “start here” hub is Guide: Save Money.
How to qualify for Lifeline
You can qualify for Lifeline in one of two main ways: income-based eligibility or program-based eligibility. You only need to meet one.
1) Income-based eligibility
In general, Lifeline uses an income threshold of 135% of the Federal Poverty Guidelines, based on your household size. The exact dollar amount changes as the guidelines update, and your household size matters, so I recommend using the official eligibility tool to confirm before you apply.
2) Program-based eligibility
You may qualify if you or someone in your household participates in certain assistance programs. The specific list can vary, but common qualifying programs often include Medicaid, SNAP (food stamps), SSI, Federal Public Housing Assistance, and certain Tribal programs.
For the most current program list and eligibility details, use the official Lifeline site maintained by USAC: https://www.lifelinesupport.org/.
What documents you need (and what trips people up)
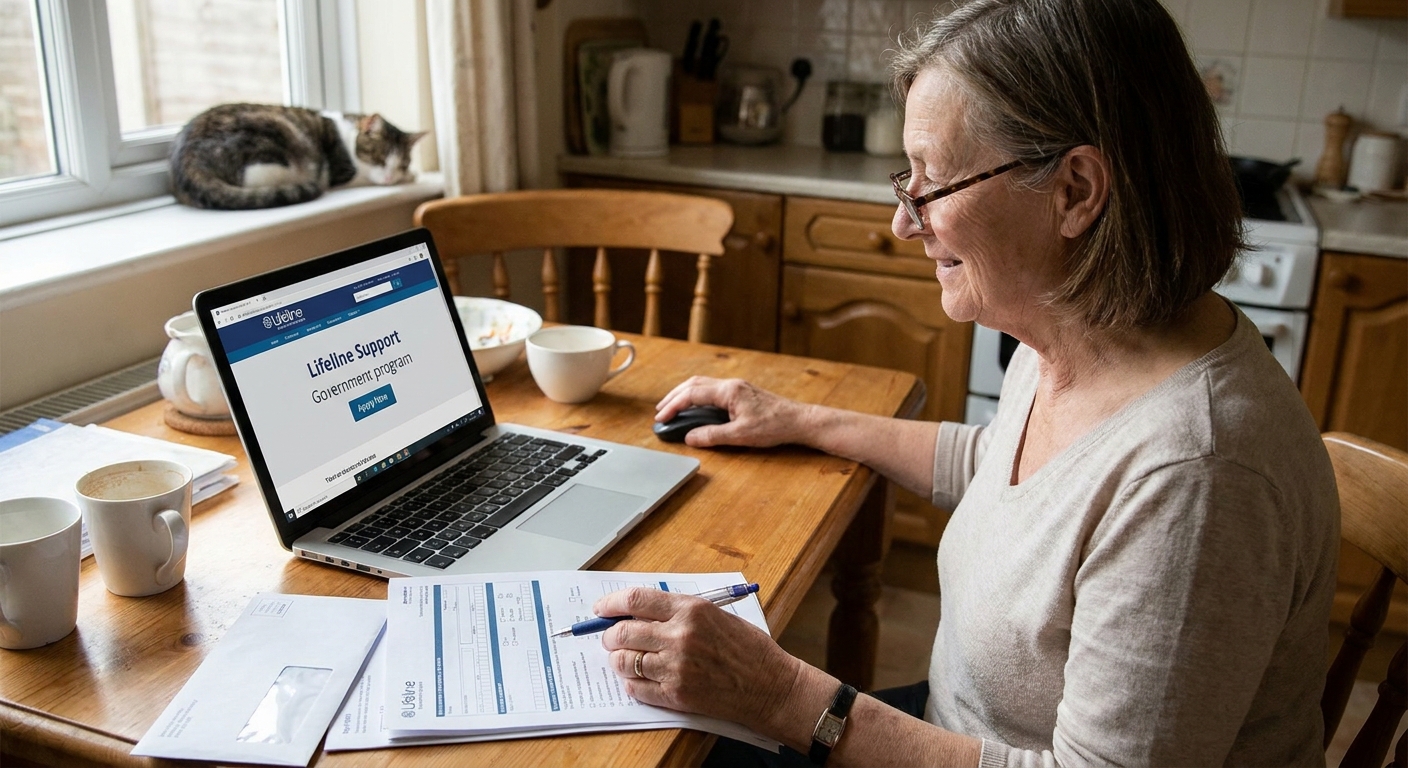
The fastest Lifeline applications are the ones that include clean, readable proof the first time. Blurry photos and mismatched names are a very common reason an application gets kicked back for review.
Proof of identity
You will typically need to provide information that confirms who you are, such as:
- Full legal name
- Date of birth
- Last 4 digits of Social Security Number, or another accepted identifier depending on your situation and state rules
- Residential address (more on that below)
Proof of eligibility
What you provide depends on how you qualify:
- If you qualify by income: pay stubs, a tax return, a Social Security statement of benefits, unemployment statement, or other official income documentation.
- If you qualify by program: an approval letter, benefit statement, or other official document showing current participation.
Common application problems (avoid these)
- Nickname vs legal name: “Mike” on one document and “Michael” on another can cause verification issues. Use your legal name consistently.
- P.O. box only: Lifeline is tied to household eligibility, so you usually need a residential address even if you receive mail elsewhere.
- Unreadable uploads: take photos in bright natural light, keep all four corners visible, and avoid glare.
- Old eligibility proof: some documents must be current. If in doubt, use the most recent statement you have.
Step by step: How to apply
In most places, the verification step runs through the National Verifier. You can usually do it yourself online, or you can enroll with a participating provider who helps you submit the same information through the verifier process.
Step 1: Check eligibility and gather documents
Before you start, put these in one folder on your phone:
- 1 photo ID or identity document (if required in your flow)
- 1 proof of program participation or income proof
- A note with your legal name, date of birth, and residential address exactly as you will enter it
Step 2: Apply online or by mail
The official Lifeline portal explains your options and walks you through the National Verifier process: https://www.lifelinesupport.org/.
If you prefer paper, the site also provides instructions for mail-in applications and what documentation to include.
How long it takes
- Online: sometimes just a few minutes if the system can automatically confirm your eligibility.
- If documents need manual review: it can take longer, especially if uploads are hard to read or info does not match.
- Mail: expect it to take longer because of shipping and processing time.
Step 3: Get approved, then enroll with a provider
This is the part people miss: approval is not the same as having active phone service. After you are approved, you still have to choose a participating provider in your area and complete enrollment and activation with them.
Providers, plan details, and network coverage vary a lot by location. Do not assume the first option is the best one for your specific neighborhood.
If you are unsure how to evaluate coverage and plan fine print, my general phone-bill trimming hub is Guide: Phone and Bills.
Step 4: Activate service and keep your info consistent
When you activate, use the same address and legal name you used during verification. This helps prevent the “approved but cannot enroll” headache.
“Free phone” vs “free service”
People often say “I got a free government phone,” but the benefit is really about service. Some providers may offer a free or low-cost device as part of enrollment promotions, but that is provider-specific and can change.
Here is the practical way to think about it:
- Lifeline = the benefit/discount.
- Your provider = the plan details. Talk, text, data amounts, hotspot rules, and device offers come from the provider.
If you already have a working phone, ask whether you can use it on the provider’s network (sometimes called BYOP, bring your own phone). That can be the simplest way to get set up quickly.
Household rules
Lifeline is limited to one benefit per household. A household is generally defined as people who share income and expenses at the same address.
If multiple people at the same address want Lifeline
There are situations where more than one qualifying person lives at the same address but is not part of the same economic household. In those cases, you may need to complete a household worksheet or similar process to show separate households. Follow the instructions in the verifier flow for your address.
This comes up a lot with multi-generation living, roommates, and renters in converted homes.
Keeping Lifeline once you have it
Getting approved is only step one. To keep the benefit, treat it like a bill discount that needs occasional check-ins.
- Respond to recertification requests when they come. Missing a deadline is a common reason people lose Lifeline.
- Update your address if you move.
- Do not sign up twice at the same time. If you switch providers, follow the proper transfer process.
If you are denied or stuck
If your application is denied or “pending,” it is usually fixable. The most common issues are mismatched personal info (name, DOB, address), unreadable documents, or proof that is out of date.
What I would do first
- Re-check every field you typed against your documents, especially apartment numbers, hyphens, and suffixes like Jr.
- Upload clearer proof (bright light, all four corners visible, no glare).
- Use more direct proof if you have it, like a current benefits statement that clearly shows your name and program.
- Check your status and follow the instructions in the verifier system for next steps.
If you are in an unusual situation, like staying with someone short-term or living without a stable address, follow the verifier instructions closely. There are processes for edge cases, but you want to do it their way so you do not accidentally trigger the “duplicate household” problem.
If you do not qualify (or you are waiting)
If you are not eligible for Lifeline, or you are waiting and need a backup plan now, you still have options to get texting costs down:
- Use Wi-Fi-based messaging for day-to-day chats, especially if you have stable home internet.
- Consider a low-cost MVNO plan and rely on Wi-Fi texting when you can.
- Turn an old device into a Wi-Fi messaging-only phone for family members.
These guides can help:
FAQ
Is Lifeline the same as ACP?
No. The Affordable Connectivity Program (ACP) was a separate benefit. As of 2024, ACP stopped accepting new households in most cases due to a lack of funding. Lifeline is separate and still operates under its own rules. For current Lifeline details, use the official USAC site: https://www.lifelinesupport.org/.
Can I get Lifeline if I already have phone service?
Often yes. You may be able to apply the Lifeline discount to a qualifying service with a participating provider, or switch to a provider that supports Lifeline in your area.
Will Lifeline cover international texting?
Lifeline plans usually focus on domestic service. If international texting is your big cost sink, you may save more by using Wi-Fi messaging apps or internet-based international texting tools. Start with Send Free International Texts Without Carrier Fees and, if you travel, Avoid International SMS Roaming Charges Abroad.
What if I do not have a stable address?
Eligibility and verification are tied to household rules, so address situations can get complicated fast. The best move is to follow the verifier instructions carefully and use the help options provided in the official flow for your situation.
Can I use Lifeline for texting only?
Lifeline is applied to a qualifying service plan, and most mobile plans bundle talk and text together. If your goal is texting only, you might still be better off with a Wi-Fi approach plus a minimal plan. My guide on using a computer for messaging can help: Send Free SMS From Your Computer.
My best advice before you hit submit
If you take nothing else from this: use consistent legal info and upload clear proof. Most Lifeline frustration is not about eligibility, it is about verification details.
And if you run into the classic “my bill has weird charges” problem while you are trying to get stable service, do a quick cleanup with Audit Your Phone Bill Before Switching and Hidden Premium SMS Charges: How to Spot and Block Them.